
I have a video tutorial available here showing all of the basic skills, stitches, materials, and tools you need to get started with Amigurumi all while learning how to make this adorable Amigurumi Kiwi. What better way to learn than by actually making something, right?!
I also have the full pattern available in writing below. Enjoy!
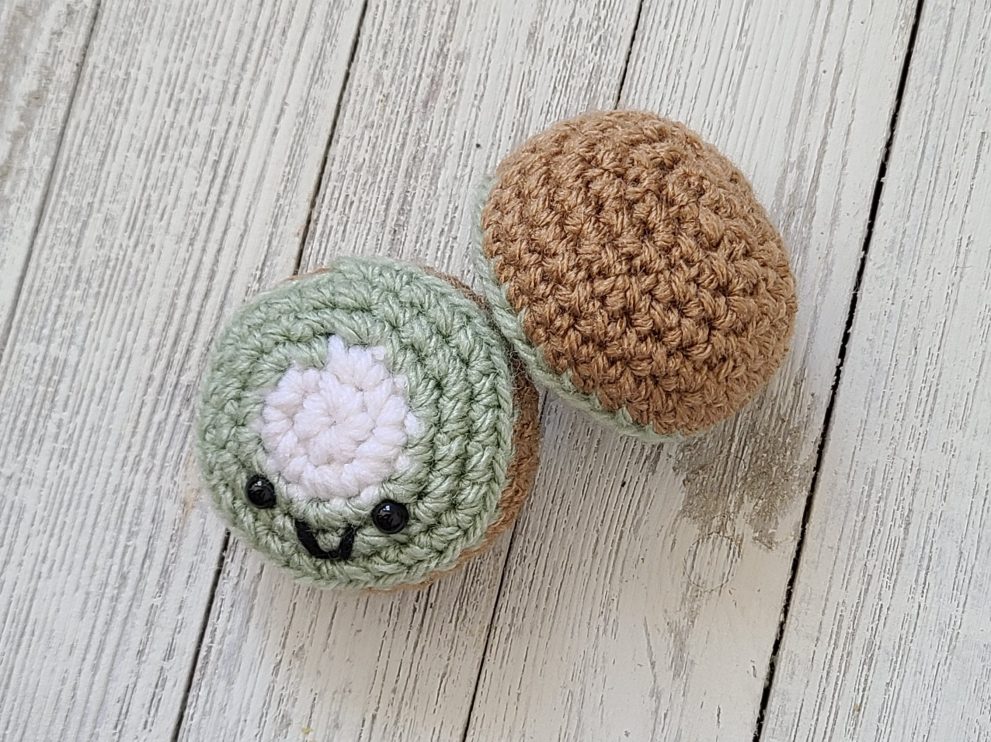
HARRY the KIWI
Difficulty: Beginner
Size: Finished product is approximately 1.5″, but can be made to any size.
Skills Required:
- Magic Ring
- Single Crochet
- Increases
- Decreases
- Crocheting in the round
- Slip stitch
- color change
Terminology:
- ch: chain
- sc: single crochet
- inc: single crochet increase
- dec: single crochet decrease
- MR: magic ring
- BLO: Back Loops Only
Materials:
- white, green, brown, and black yarn (worsted weight/4ply)
- Size E-4 (3.5mm) crochet hook
- 6 mm black plastic safety eyes
- Polyester fiberfill
- Tapestry needle
- Stitch markers
- Scissors
- Cosmetic blush (optional)
Links to my favorite tools and materials: https://www.amazon.com/shop/knottooshabbycrochet?listId=5WE1QKDKD66X&ref=idea_share_inf
Notes:
- You may use any yarn weight and hook size, as long as it creates neat stitches such that the fiberfill will not show through.
- Work in continuous rounds throughout. Do not join or turn unless otherwise stated.
- Use of stitch markers is recommended.
PATTERN
This piece starts at the center of the kiwi in white yarn.
R1: 6 sc in Magic Ring (6)
R2: 1 inc in each sc (12)
Change to green yarn.
R3: [1 sc, 1 inc] x6 (18)
R4: [2 sc, 1 inc] x6 (24)
R5: [3 sc, 1 inc] x6 (30)
Place the eyes between R3 and R4, about 4 sc apart. Using black yarn, embroider the mouth onto the front of the face with the tapestry needle, just below the eyes. Add blush for rosy pink cheeks, if you’d like.
Change to brown yarn.
R6: BLO – 1 sc in each sc (30)
R7-8: 1 sc in each sc (30)
R9: [3 sc, 1 dec] x6 (24)
R10: [2 sc, 1 dec] x6 (18)
R11: [1 sc, 1 dec] x6 (12)
Stuff the piece with the polyester fiberfill. Close off, and then weave in the ends with the tapestry needle.
R12: 6 dec (6)
Close off, and then weave in the ends with the tapestry needle.
The contents of this document may not be copied, reproduced, altered, published, or distributed in any form. You may sell finished products made with this pattern, but please provide design credit to Knot Too Shabby Crochet.