
The world of amigurumi can be pretty overwhelming. How do I get started? What do I need? What do all these acronyms mean? But do not despair, I am here to go over some of the basics with you!
Terminology:
- R1: row 1 or round 1
- sts: stitches
- ch: chain
- sc: single crochet
- dc: double crochet
- inc: single crochet increase
- (sc 2 in next stitch)
- dec: single crochet decrease
- (sc next 2 stitches together)
- MR: magic ring
- FLO: front loops only
- BLO: back loops only
There are plenty more, but these are the ones most commonly used in my patterns. If you are not familiar with these stitches, there are a lot of amazing videos and tutorials available online. Just do a quick search and you will be sure to find some!
Skills Required:
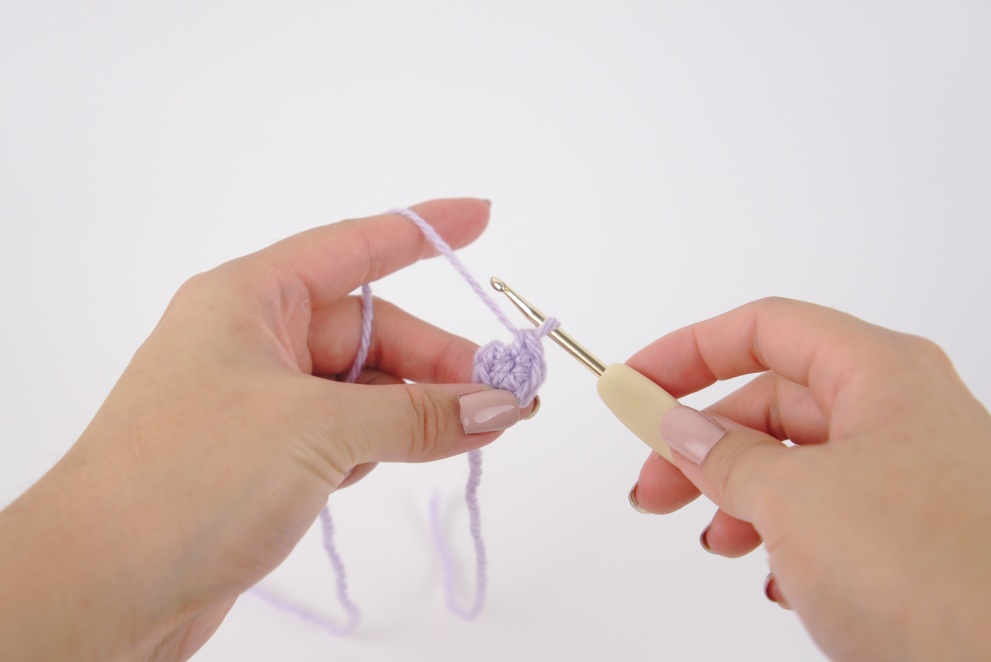
Amigurumi is typically crocheted in continuous rounds unless otherwise stated. No turning or joining needed. This creates a nice clean seamless look.
You will typically use a Magic Ring to start you off. Click the link to view step by step instructions.
Materials:
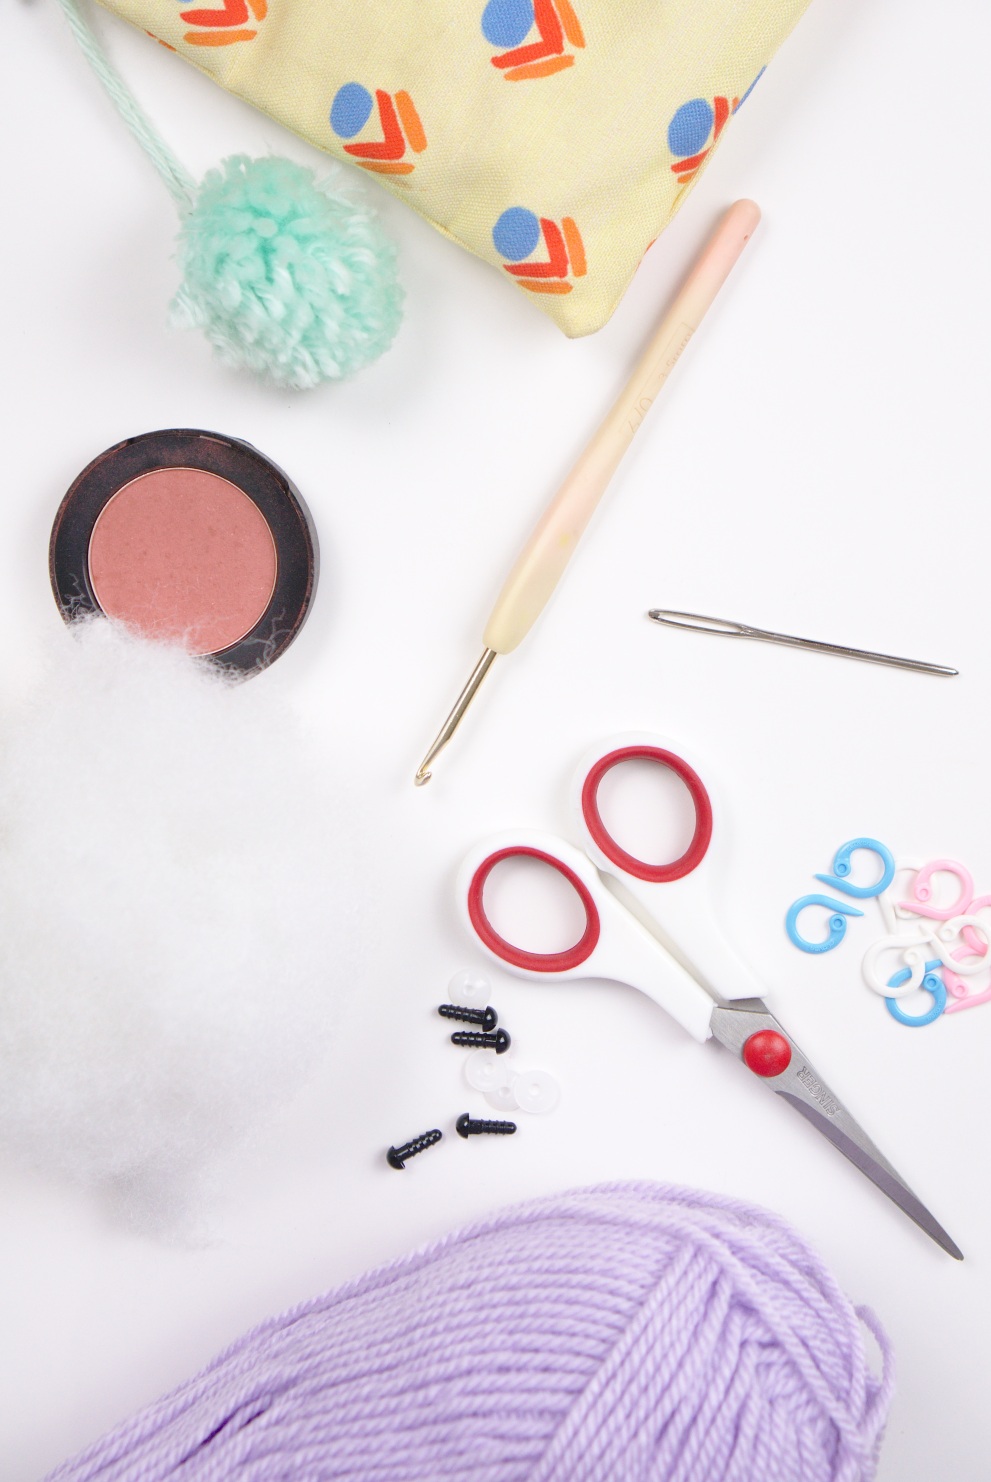
Most of my patterns use the following materials:
- Worsted weight/Aran/#4 yarn
- I love Paintbox yarn! Redheart Supersaver is also a great option. Inexpensive and plenty of color options. But there are lots of other options as well. Play around and see what you like best!
- Size E-4 (3.5mm) crochet hook
- When you look at yarn labels, they will often provide a suggested hook size. For amigurumi, I actually recommend a size or two smaller to make sure your stitches are nice and tight. You don’t want your stuffing poking through! I use a E-4 crochet hook, but feel free to figure out what works best for you. Everyone crochets with different tension.
- Black plastic safety eyes
- These are available online in all different sizes to create all different looks. Go wild! Just snap on the back to hold them in place.
- Polyester fiberfill
- Be careful not to understuff or overstuff!
- Tapestry needle
- This makes sewing on pieces and finishing off a breeze.
- Stitch markers
- When working in continuous rounds it’s easy to lose your spot. Use a stitch marker to mark the end of a row. As you complete each row, just move your stitch marker up with you. (Protip: If you don’t have stitch markers, just use a scrap piece of yarn!)
Links to my favorite tools and materials: https://www.amazon.com/shop/knottooshabbycrochet?listId=5WE1QKDKD66X&ref=idea_share_inf
Reading Patterns:
Let’s go over some common sequences and what they mean.
R1: 6 sc in MR (6)
- Translation: Work six single crochets in a magic ring (see tutorial). We will have completed 6 stitches in this round.
R2: 1 inc in each (12)
- Translation: Work 2 single crochets in each stitch around. (Reminder: working 2 single crochets in a stitch is also referred to as an increase). Since we are increasing in each stitch, we are doubling the stitch count. We will have completed 12 stitches in this round.
R4: [2 sc, 1 inc] x6 (24)
- Translation: Work 1 single crochet in each of the next 2 stitches. Then work an increase in the following stitch. We will repeat the sequence between the [brackets] a total of 6 times. We will have completed 24 stitches in this round.
R6: 1 sc in each (24)
- Translation: Work 1 single crochet in each stitch around. We will have completed 24 stitches in this round.
R9: [2 sc, 1 dec] x6 (18)
- Translation: Work 1 single crochet in each of the next 2 stitches. Then single crochet the next 2 stitches together. (Reminder: single crocheting 2 stitches together is also referred to as a decrease.) We will repeat the sequence between the [brackets] a total of 6 times. We will have completed 18 stitches in this round.
There are countless other possible combinations of stitches. That’s the magic of amigurumi! But hopefully this is enough to get you started. If you have any questions, feel free to contact me. Best of luck on your crocheting adventures!